
Basketball skills
How to do a layup in basketball: steps for both sides
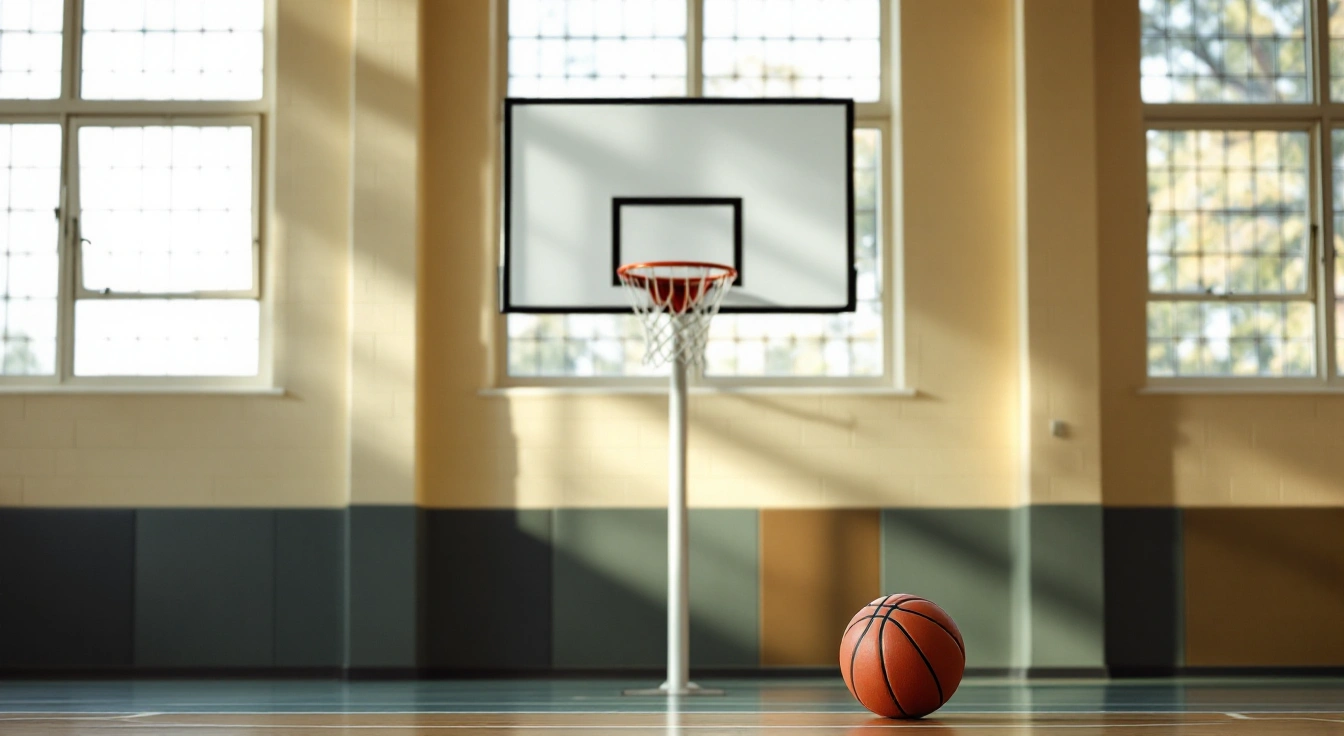
To teach how to do a layup in basketball, separate the finish from the approach. Begin near the rim, then add the final footwork slowly. A long running line can hide the moment the feet and ball stop working together.
For a basic right-side one-foot layup, teach a left-foot takeoff with a right-hand finish; reverse those sides for the left. Start with no defender and a clear landing route. The steps before takeoff depend on when the ball is gathered under the adopted rules. Do not treat the common right-left rhythm as permission for extra steps after every catch.
The USA Basketball stride-stop layup lesson connects the approach to the finish. Teach a short controlled approach before adding a feed or a defender.
On this page
Begin with the movement
Show the final lift close to a suitable basket. A player can rehearse the takeoff without a ball, then add a held-ball finish. Keep the first task small enough that they can land calmly. Reach the target without racing under the backboard.
The USA Basketball stride-stop teaching resource breaks the approach into parts. Use that idea without copying a long adult-speed approach for a young beginner. Tell the player what one part to watch, then let them try it before adding another.
Right-side footwork and release
For this basic example, the shooter finishes with the right hand while taking off from the left foot. Begin just far enough away to see that final step. The ball stays on the finishing side rather than swinging across the body.
The familiar approach rhythm is often described as right then left before the jump. Its legality still depends on when control was gained. Walk the movement with the program's rule in mind. If a player is already holding the ball while adding extra steps, stop and simplify the start.
Left-side footwork and release
Mirror the basic finish: left hand and right-foot takeoff. The player may need a slower approach or a closer starting spot on this side. Don't insist that the weaker side use the same speed on the first attempt.
Have the adult demonstrate the mirror from the player's view. Calling “other foot” across a noisy gym can be unclear. A floor spot for the takeoff and a short walk-through can show the task without adding a second person in the landing space.
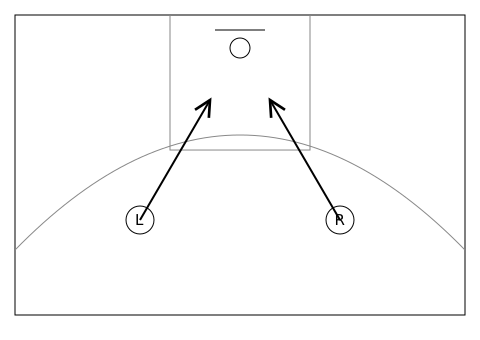
Target and controlled approach
Ask the player to look at the intended target before the finish. A backboard finish may use a reachable spot that sends the ball toward the ring. Don't describe a single painted-square corner as the answer for every approach angle and body size.
Keep the approach slow until the final steps remain controlled. The next shooter waits until the first has landed and cleared the route. Put the rebound collection to the side, not directly in the next approach. No ball should be thrown toward a player who is still under the rim.
Common timing errors
Before a moving attempt, ask the player to point to the intended takeoff foot. Walk from a short start and pause there without shooting. If the feet match the taught pattern, add the release next. If they do not, change the starting distance before asking for more speed. This separates the approach problem from the hand action.
If the player jumps from the wrong foot for the chosen basic version, remove the dribble and rehearse the final step. A ball that flies hard off the board calls for a slower approach and a gentle close release. For a player running past the ring, move the start and takeoff to a comfortable finishing position.
A coach should distinguish a teaching preference from a violation. Other legal finishes can use different takeoffs. This page teaches one basic option, not every possible layup. Use the actual footwork rule for the call and the chosen cue for the lesson.
Progress to the layup drills
An original first sequence is a close finish, a one-step finish, then a slow dribble approach from a marked side lane. Add one new part at a time. After the player can control that version, a short accurate pass can replace the dribble start.
Give the passer a useful task: deliver the ball where the receiver can keep the final movement calm. A late pass that forces a lunge is a setup problem, not proof that the receiver lacks effort. Reset the feed rather than rehearse a rushed finish.
FAQ
Should a beginner start at full speed?
No. Slow movement lets the adult see the final step, release and landing. Add pace only when the player can repeat that task in the available space. Keep the next shooter outside the route. A longer line or faster approach is not itself a better teaching progression.
Must every legal layup use the same takeoff?
No. The right-hand and left-foot example is one basic finish. Other legal finishes use different footwork. Explain which version you are teaching and why, while checking the adopted rule for any violation. Avoid correcting an alternative legal movement solely because it differs from this introductory pattern.
Choose the next coaching task
Youth Basketball Tips · https://youth-basketball-tips.com/how-to-do-a-layup-in-basketball/